When you’re comparing telescopes at similar price points, the optical specs often look similar. What separates a satisfying purchase from a frustrating one is frequently the features — the things that make the telescope easier and more pleasant to actually use. Here’s what to look for.
Finder Scopes
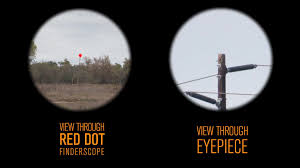
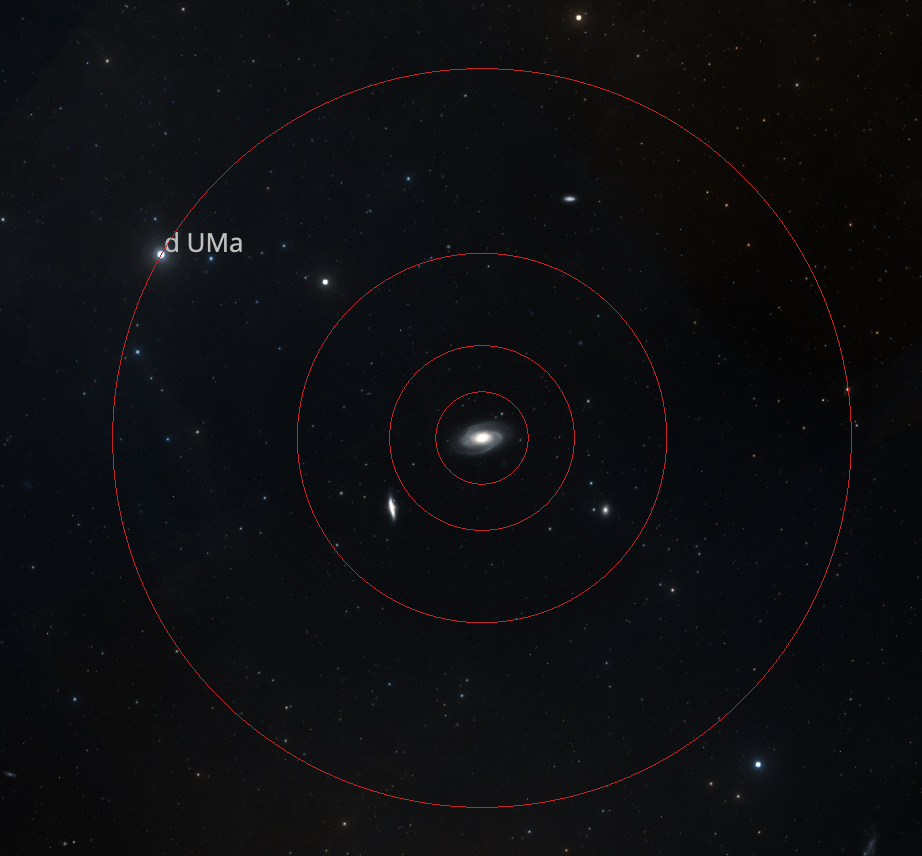
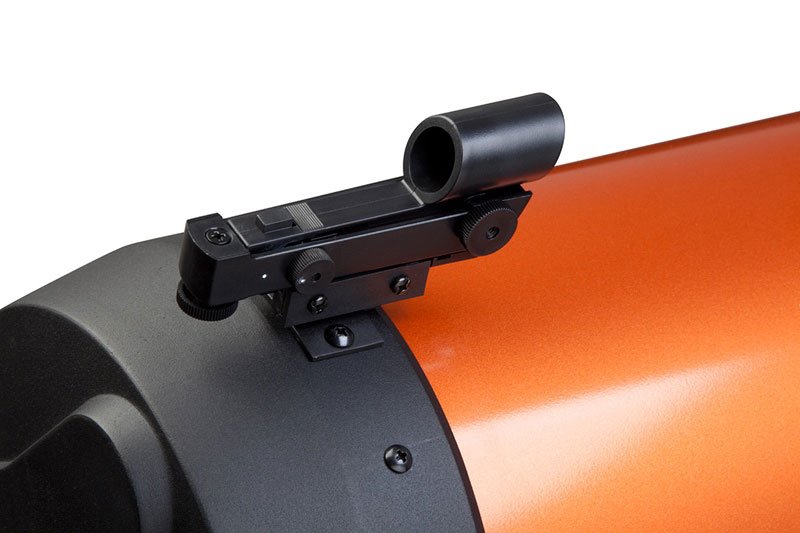
Before you can look at something through a telescope, you have to point the telescope at it. At even low magnification, the field of view is tiny compared to the naked eye — finding a specific star or galaxy by looking through the main eyepiece is like trying to find your house by looking through a drinking straw.
A finder scope solves this by giving you a wider, lower-magnification view to aim with before switching to the main eyepiece.
Focuser Quality
The focuser is the mechanism that moves the eyepiece in and out to bring the image to a sharp focus. It sounds mundane, but a bad focuser is genuinely maddening.
Rack-and-pinion focusers use a gear-and-rack mechanism and are common on budget scopes. They work, but can have play (slop) in the mechanism that makes precise focusing difficult.
Crayford focusers use a friction-based mechanism that is much smoother and more precise. They’re standard on mid-range and quality telescopes and make a noticeable difference in the focusing experience.
Things to look for: smooth travel with no play, a tension adjustment so the focuser doesn’t slip under the weight of heavy eyepieces, and a dual-speed option (coarse and fine) for precise focusing at high magnification.
Clock Drives and Motor Tracking
A clock drive is a motor that moves the telescope to compensate for Earth’s rotation, keeping objects centered in the eyepiece automatically. On an equatorial mount, a single motor on the RA axis does the job. On an alt-az mount, motors on both axes work together.
For visual observing, a clock drive is a comfort feature — you can step away from the eyepiece and come back to find the object still there. For astrophotography, it’s a necessity.
Many beginner telescopes are sold with optional motor drives, or with basic motors included. If you think you might eventually want tracking, it’s worth choosing a scope and mount that support it from the start rather than discovering later that your mount has no provision for it.
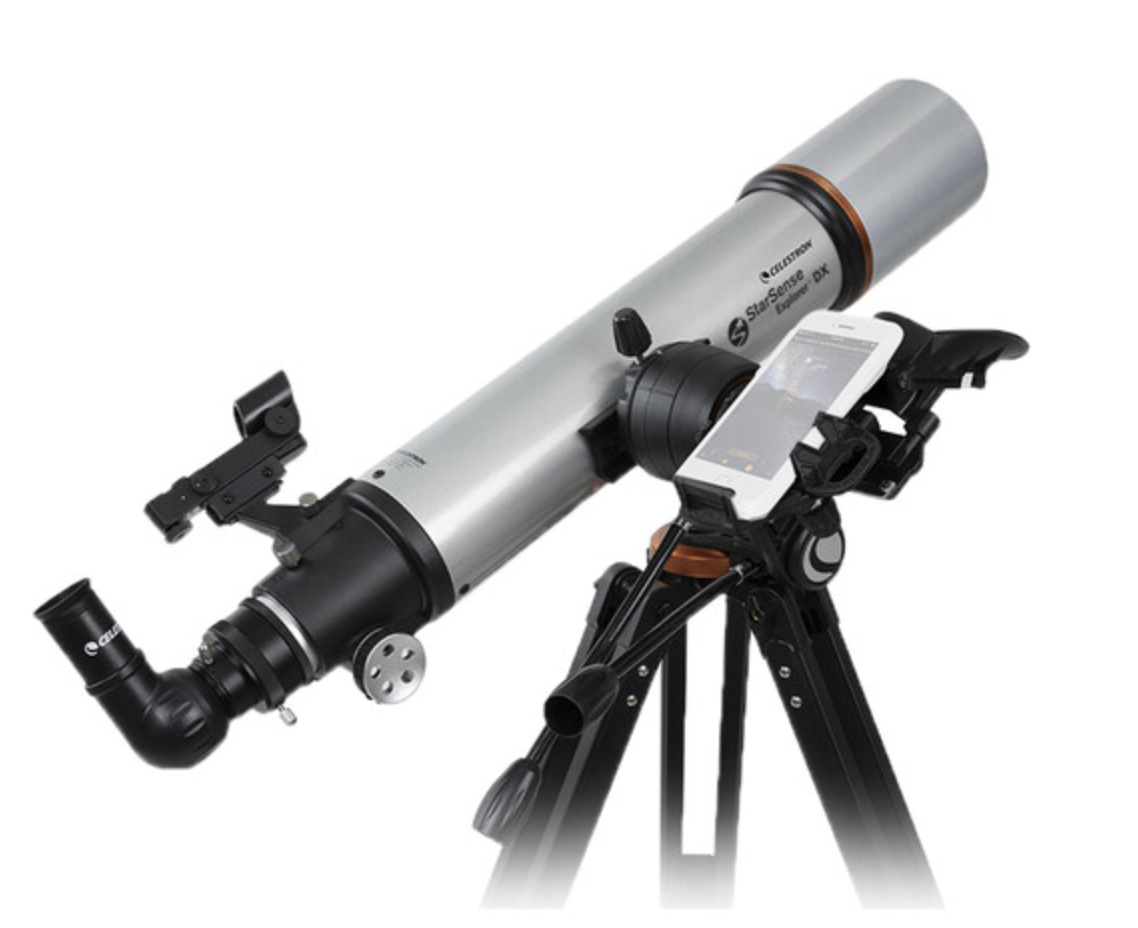
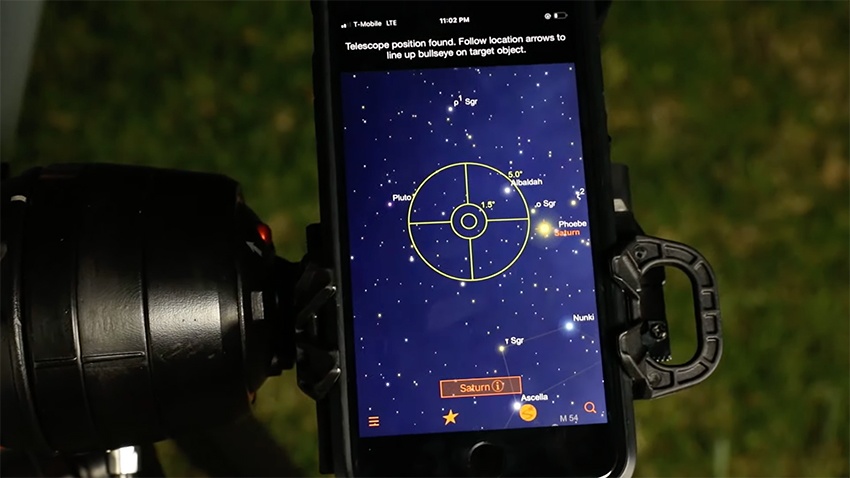
Smartphone Integration
Beyond finder systems, several telescopes now offer smartphone integration for control and planning:
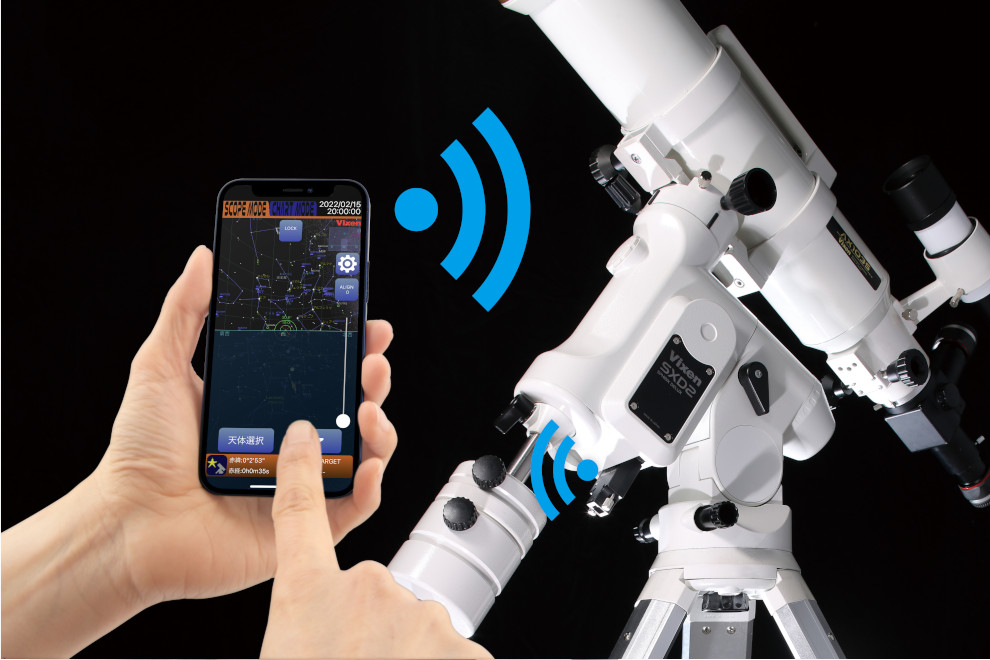
Electronic focusers can be controlled remotely via app, which is useful for astrophotography where touching the telescope causes vibration.
Collimation
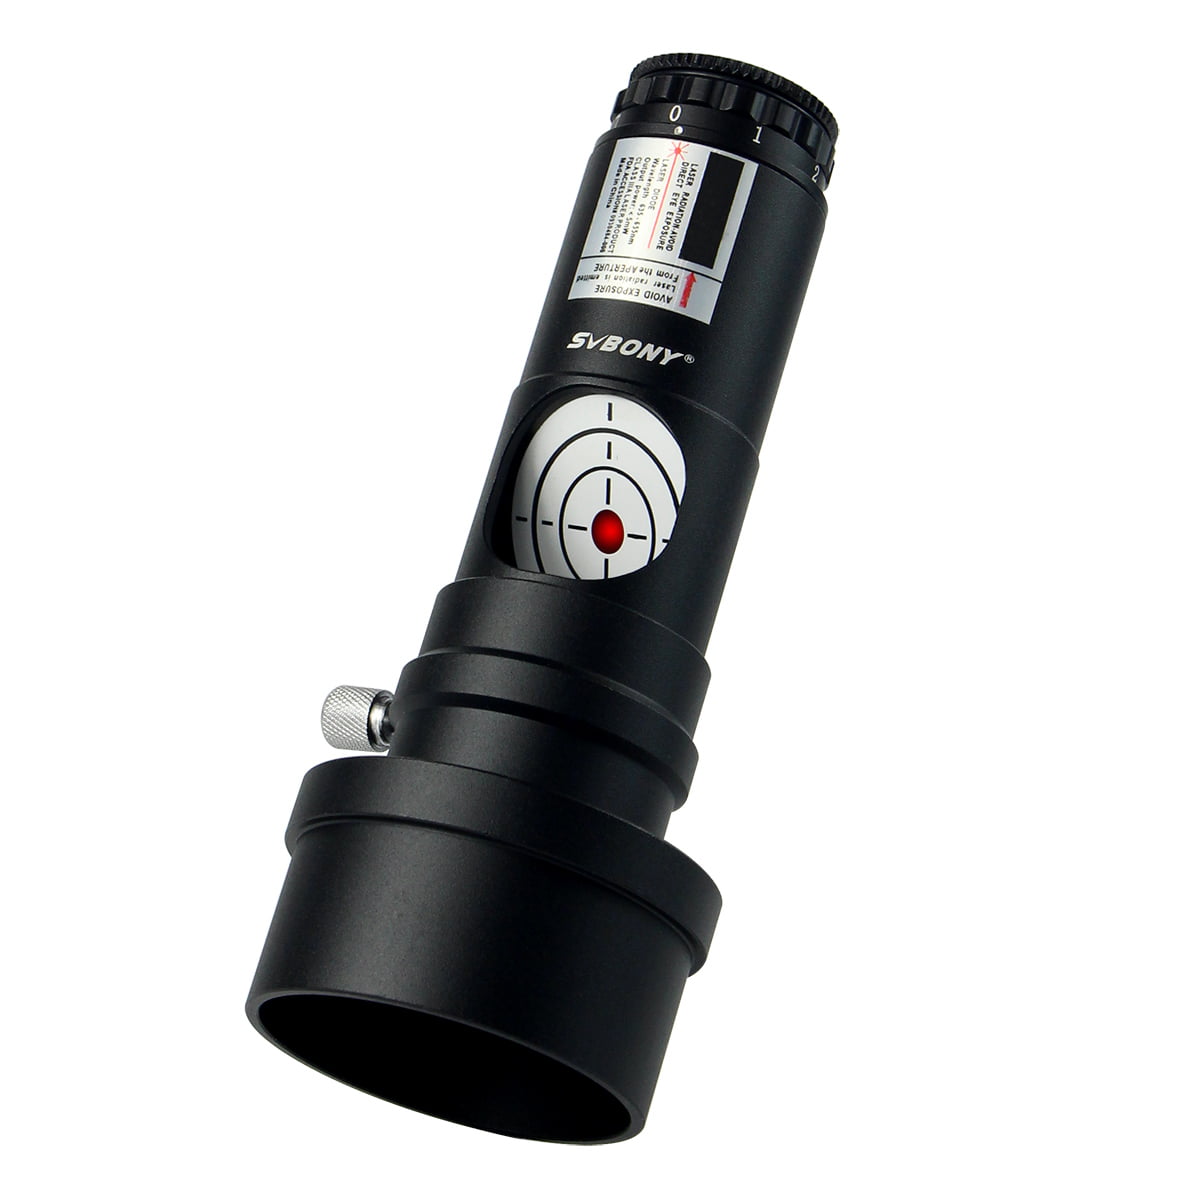
Some scopes include collimation tools or have tool-free adjustment knobs. Others require a separate collimation eyepiece or laser collimator (sold separately). If you’re buying a reflector, it’s worth checking what collimation involves for that specific model and whether the necessary tools are included.
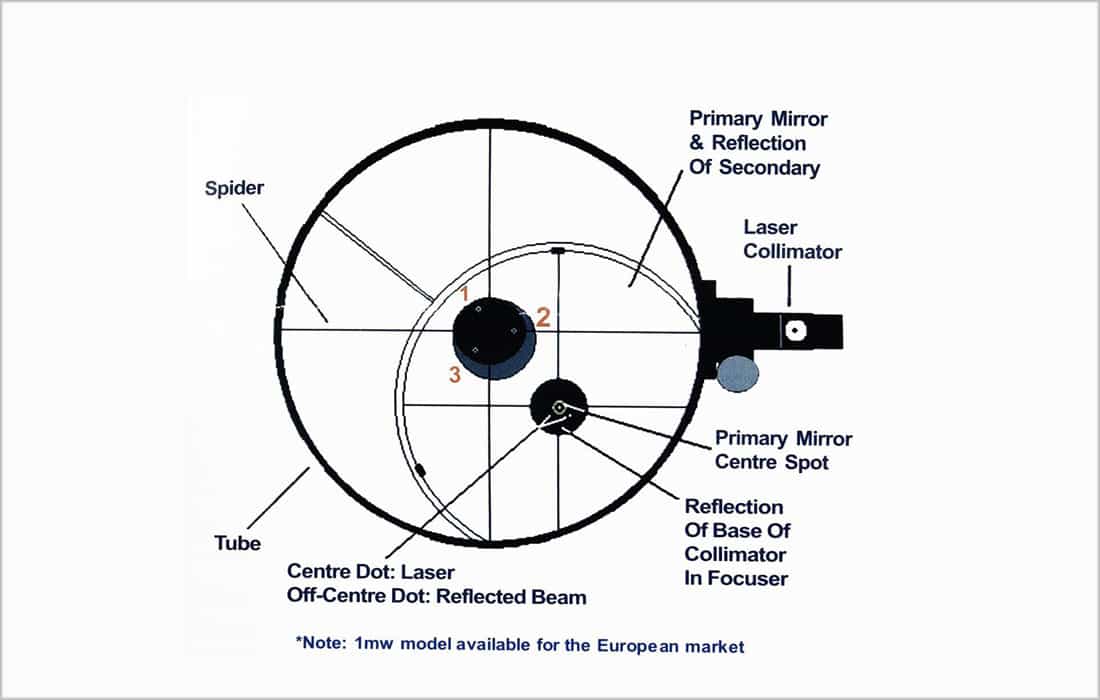
Refractors generally don’t require collimation, which is one of their practical advantages.
Dew Protection
If you live somewhere with humid nights (New England, for instance), this is worth thinking about. A dew shield is a relatively inexpensive addition but only works if your scope has a place to put one.
Solar Filters
Some telescopes are sold with solar filters included — typically a filter that fits over the objective end of the tube, reducing sunlight to safe viewing levels. If daytime solar observing interests you, check whether a compatible filter is available for the scope you’re considering.
Never look at the Sun without a proper solar filter. See the Event Rules page for safety guidelines.
NOTE: cheaper telescopes will come with a “solar filter” that you screw into the end of an eyepiece like other filters. THIS COULD DAMAGE YOUR TELESCOPE! Do NOT use them! In this situation all of the Sun’s light is passing through your entire optical train before hitting the filter. The only safe solar filter is one that is mounted at the end of the scope where the light comes in.
What Actually Matters
Not every feature on this list is equally important for every observer. A rough priority guide:
- Everyone: Good focuser, usable finder system
- Visual observers: Clock drive (optional but nice), collimation ease on reflectors
- Beginners who want help finding objects: StarSense Explorer or GoTo
- Astrophotographers: Motor drive, 2" focuser, dew protection
- Humid climates: Dew shield provisions
Features add cost. Decide which ones matter to you before you start shopping, and you’ll spend your money on the right things.